Advanced
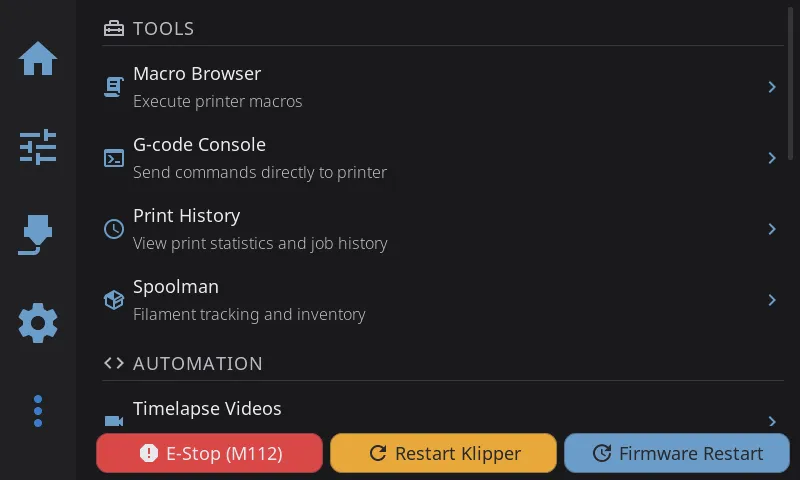
Access via the More icon in the navigation bar.
G-code Console
Section titled “G-code Console”A full-featured G-code terminal for sending commands directly to your printer and viewing Klipper responses in real time.
Opening the console:
- Navigate to Advanced > G-code Console, or
- Add the G-code Console widget to your home panel for one-tap access
Sending commands:
- Type a G-code command in the input field at the bottom (e.g.,
G28,M104 S210) - Press Enter on the keyboard or tap the send button
- The command appears with a
>prefix, and Klipper’s response streams in below
Command history:
- Press Up/Down arrow keys to recall previously sent commands
- Up to 20 recent commands are remembered within the session
Color coding:
- White: Commands you sent (prefixed with
>) - Green: Successful responses from Klipper
- Red: Errors and warnings (lines starting with
!!orError) - Colored spans: AFC and Happy Hare plugins send colored output that renders inline
Other features:
- Auto-scroll: The console scrolls to show new messages automatically. Scroll up to pause auto-scroll and read history — it resumes when you send a new command
- Timestamps: On medium and larger screens, each line shows an
HH:MM:SStimestamp - Clear button: Tap the trash icon to clear the display (with confirmation)
- Monospace font: Console text uses Source Code Pro for easier reading of G-code output
Filters:
Open the console settings (the tune/settings icon in the console) to control which background chatter is hidden. Both filters are on by default, and your choices are saved:
| Filter | What it hides | Default |
|---|---|---|
| Hide Temperature Reports | Periodic T:.../B:... temperature status lines that Klipper streams continuously | On |
| Hide Firmware Noise | Raw debug output from printer firmware modules (the exact patterns are defined per printer model) | On |
Turn a filter off if you want to see that output — for example, turn off “Hide Temperature Reports” when you’re watching heater behavior live, or turn off “Hide Firmware Noise” when troubleshooting a specific firmware module.
Macro Execution
Section titled “Macro Execution”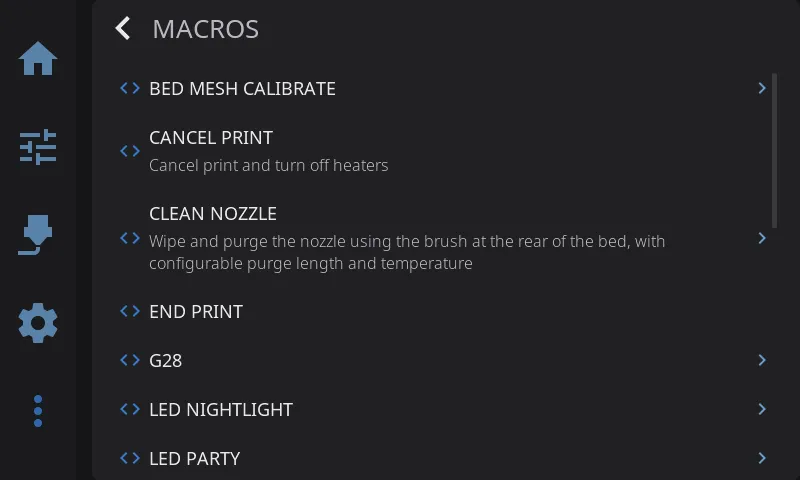
Browse and execute all of your Klipper macros.
Opening the Macros panel:
- Navigate to Advanced > Macros, or
- Add the Macros widget to your home panel for one-tap access
Browsing macros:
- All macros from your Klipper configuration are listed alphabetically
- Names are prettified for readability:
CLEAN_NOZZLEbecomes “Clean Nozzle” - System macros (starting with
_) are hidden by default — use the toggle to show them - Tap any macro to execute it
Macro parameters:
Some macros accept parameters (variables or arguments defined in your Klipper config). When you tap a macro that has parameters:
- A parameter input form appears showing each parameter with its default value
- Edit the values you want to change, then tap Run to execute
- Parameters are pre-detected when HelixScreen connects to your printer, so there’s no loading delay
If HelixScreen can’t determine the parameters (e.g., complex Jinja2 templates), a freeform text field lets you type raw parameters.
Dangerous macro protection:
These macros show a confirmation dialog before executing:
SAVE_CONFIG— writes configuration changes to diskFIRMWARE_RESTART/RESTART— restarts KlipperSHUTDOWN— shuts down the printer hostM112/EMERGENCY_STOP— emergency stop
Probe Management
Section titled “Probe Management”View and control your Z probe. HelixScreen auto-detects your probe type (Cartographer, Beacon, BLTouch, BTT Eddy, Mellow Fly Eddy, Voron Tap, Klicky, or standard probe) and shows type-specific controls.
- Navigate to Advanced > Probe Management (only visible when a probe is detected)
- View probe type, Z-offset, and sensor readings (coil temperature for Cartographer, sensor temperature for Beacon)
- Use type-specific buttons (Calibrate, Touch Cal, Scan Cal, Auto-Cal, Deploy/Dock, etc.)
- Access universal actions: Accuracy Test, Z-Offset Calibration, Bed Mesh
- Edit probe configuration values (offsets, samples, speed, tolerance)
For full details, see Calibration & Tuning — Probe Management.
Power Device Control
Section titled “Power Device Control”Control Moonraker power devices from the full power panel or the home panel quick-toggle button.
Home Panel Quick Toggle
Section titled “Home Panel Quick Toggle”A power-cycle button appears on the home panel when power devices are configured:
- Tap to toggle your selected power devices on or off
- Long-press to open the full power panel overlay
- The button shows a danger (red) variant when devices are on, and muted when off
Full Power Panel
Section titled “Full Power Panel”- Navigate to Advanced > Power Devices, or Settings > System > Power Devices (hidden when no power devices are detected)
- Toggle individual devices on/off with switches
Main Power Button section:
At the top of the power panel, a “Main Power Button” section lets you choose which devices the home panel quick-toggle controls:
- Selection chips appear for each discovered power device
- Tap chips to include or exclude devices from the home button
- Your selection is saved automatically
Auto-Discovery
Section titled “Auto-Discovery”HelixScreen automatically discovers power devices from Moonraker when it connects to your printer. On first discovery, all devices are selected for the home panel button by default. The Power Devices row in the Advanced panel is hidden when no power devices are available.
Locking During Prints
Section titled “Locking During Prints”A power device can be locked while a print is running so you can’t accidentally cut power mid-job. This is controlled by Moonraker, not HelixScreen: any device configured with locked_while_printing in your moonraker.conf is affected.
A locked device behaves as follows only while the printer is actively printing or paused:
- Its toggle switch is disabled — tapping it does nothing
- A lock icon appears on the row
- The status text reads “Locked during print”
When the print finishes (or if locked_while_printing isn’t set for that device), the device unlocks and toggles normally again. Devices without locked_while_printing are never locked.
Print History
Section titled “Print History”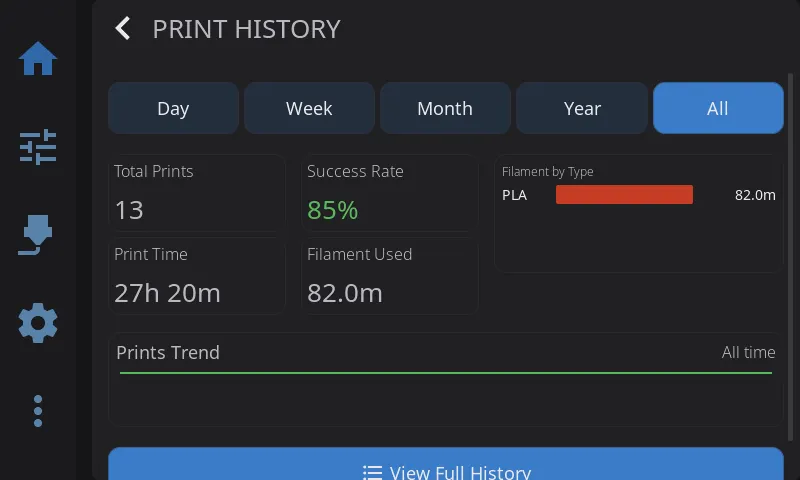
View past print jobs:
Dashboard view:
- Total prints, success rate
- Print time and filament usage statistics
- Trend graphs over time
List view:
- Search by filename
- Filter by status (completed, failed, cancelled)
- Sort by date, duration, or name
Detail view:
- Tap any job for full details
- Reprint: Start the same file again
- Delete: Remove from history
Notification History
Section titled “Notification History”Review past system notifications:
- Tap the bell icon in the status bar
- Scroll through history
- Tap Clear All to dismiss
Color coding:
- Blue: Info
- Yellow: Warning
- Red: Error
Timelapse
Section titled “Timelapse”Record timelapse videos of your prints automatically using the moonraker-timelapse plugin.
If the timelapse plugin is not installed, HelixScreen detects this and offers a guided Install Wizard:
- Navigate to Settings > Timelapse Setup
- Follow the on-screen instructions to install the plugin via SSH
- HelixScreen will configure your
moonraker.confautomatically - After installation, the setup row is replaced by timelapse settings and video browser
Settings
Section titled “Settings”Navigate to Settings > Timelapse to configure:
- Enable/disable timelapse recording
- Recording mode: Layer Macro (snapshot at each layer) or Hyperlapse (time-based)
- Framerate: 15, 24, 30, or 60 fps
- Auto-render: Automatically create videos when prints finish
A quick toggle button also appears on the print status panel to enable/disable timelapse without leaving the print view.
Video Browser
Section titled “Video Browser”Navigate to Settings > Timelapse Videos to browse your recorded timelapses:
- Thumbnail grid with responsive card sizing that adapts to your screen
- Each card shows a video thumbnail, filename, file size, and date
- Tap a card to play the video fullscreen (requires mpv or ffplay on your device)
- Long-press a card to delete it (with confirmation)
- Videos are stored on your printer and managed by the timelapse plugin
Rendering
Section titled “Rendering”When frames have been captured during a print, a render section appears above the video grid:
- Shows the number of captured frames, print filename, and capture date
- A progress bar appears during rendering with status text
- Tap Render Now to manually create a video from captured frames
- When rendering completes, the video list refreshes automatically to show the new video
- A toast notification appears at the start and end of rendering
Notifications
Section titled “Notifications”| Event | Notification |
|---|---|
| Rendering starts | ”Rendering timelapse…” |
| Rendering completes | ”Timelapse rendered successfully” |
| Rendering fails | ”Timelapse render failed” with error details |
Next: Beta Features | Prev: Settings | Back to User Guide