Touch Calibration
Touch calibration maps the raw coordinates from your touchscreen to the actual positions on the display. Without proper calibration, your taps may land in the wrong place — off by a few millimeters or even centimeters.
Which screens need calibration?
- Resistive touchscreens — Common on budget printers like the Creality AD5M (sun4i_ts) and Nebula Pad (NS2009). These almost always need calibration.
- Most capacitive touchscreens — Goodix, FocalTech, and similar controllers come factory-calibrated. No calibration needed.
- USB touchscreens — BTT HDMI displays and generic USB HID screens report pre-mapped coordinates. No calibration needed.
- Raspberry Pi Official Touchscreen — Factory calibrated. No calibration needed.
HelixScreen auto-detects your touchscreen type and only prompts for calibration when it’s actually needed.
First-Run Calibration
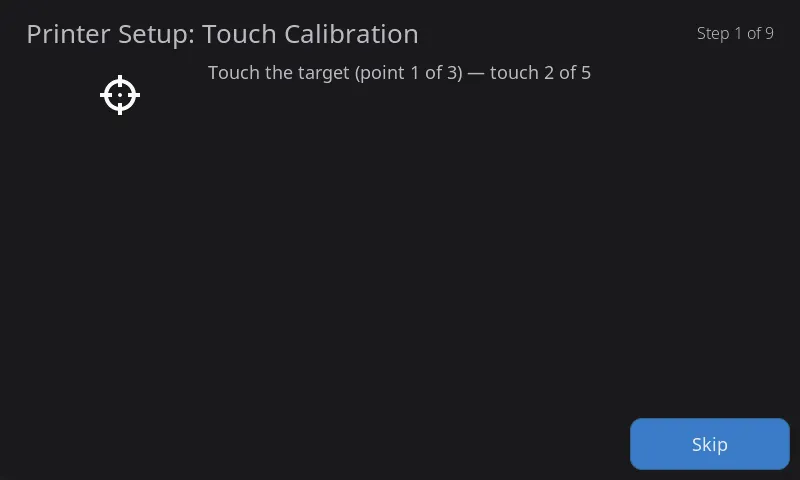
Section titled “First-Run Calibration”If your screen needs calibration, HelixScreen automatically includes a calibration step during the Setup Wizard the first time you start it.
How it works:
- A “Tap anywhere to begin” prompt appears — tap the screen to confirm your touch works
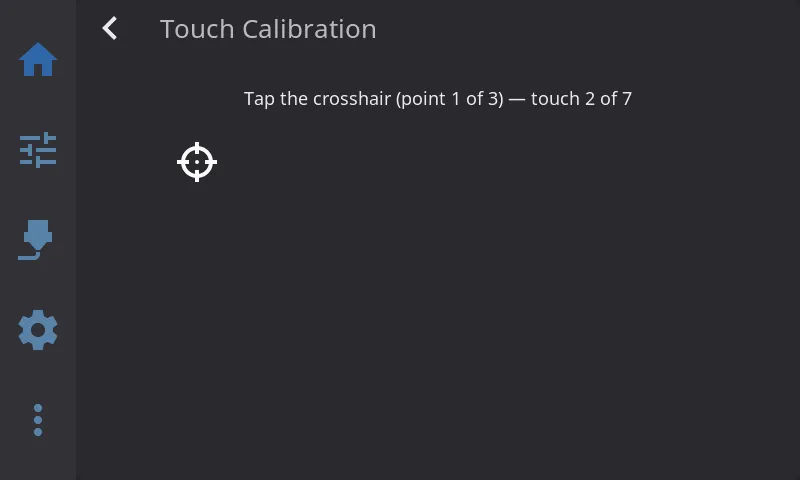
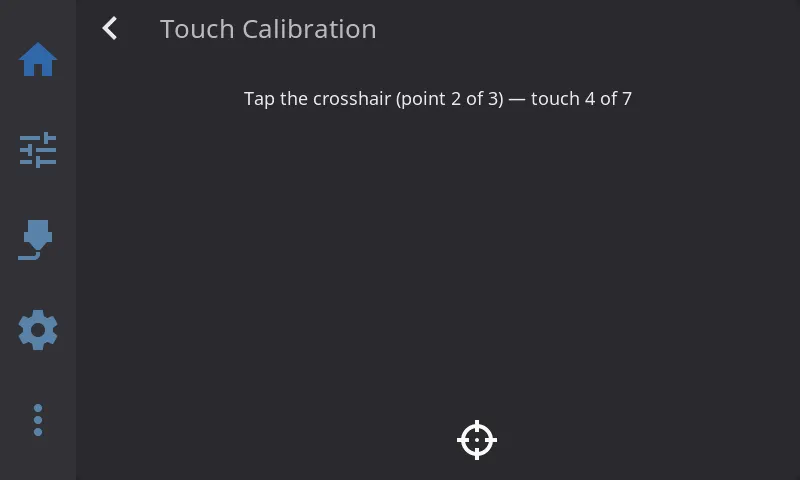
- Three crosshair targets appear on screen, one at a time, at different positions
- Tap the center of each crosshair — each point requires 7 taps and a progress indicator shows “touch 1 of 7”, “touch 2 of 7”, etc.
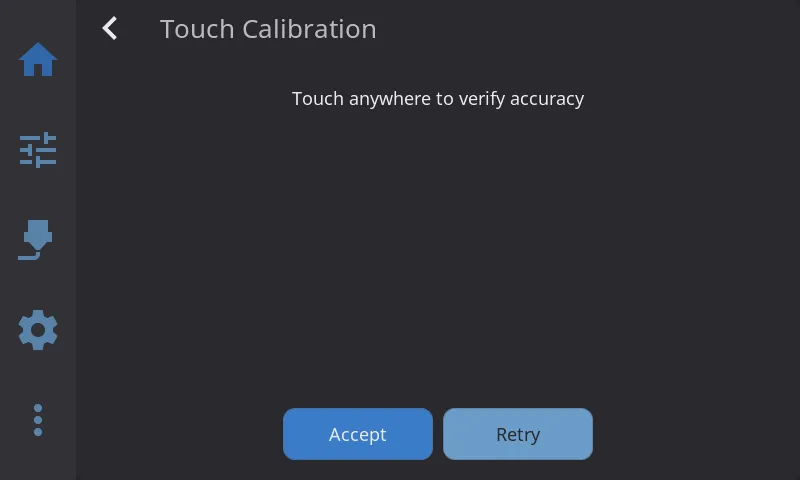
- After all three points, a verify screen appears where you can tap around to test accuracy
- If taps land where you expect, tap Accept to save the calibration
- If something feels off, tap Retry to start over
Tips:
- Use a stylus for best precision, especially on resistive screens
- Tap — don’t drag or slide your finger
- Take your time; accuracy matters more than speed
Recalibrating from Settings
Section titled “Recalibrating from Settings”You may need to recalibrate if:
- Taps are landing in the wrong spot
- You replaced your touchscreen
- You changed the display rotation
- The screen just feels “off”
To recalibrate:
- Go to Settings > System > Touch Calibration
- You’ll see a status indicator showing Calibrated or Not calibrated
- Tap the option — calibration starts immediately
- Complete the same 3-point crosshair flow described above
Note: The Touch Calibration option only appears in Settings if HelixScreen detected that your screen needs calibration. If you don’t see it, your screen likely doesn’t need it — but see the next section if you want to force calibration anyway.
Forcing Recalibration
Section titled “Forcing Recalibration”Sometimes you need to force calibration even when HelixScreen doesn’t think it’s needed, or when your screen is too broken to navigate the UI. Here are five ways to do it, from easiest to most drastic.
Before editing
settings.jsonby hand: HelixScreen rewritessettings.jsonwhile it’s running (it auto-fills missing defaults and persists state changes). If you edit the file while the service is up, your changes can be clobbered — and your editor will report “file modified since I opened” when you try to save. Always stop the service first, then edit, then start it again.
Method 1: From Settings (easiest)
Section titled “Method 1: From Settings (easiest)”If you can navigate the UI:
- Go to Settings > System > Touch Calibration
- Tap to start the calibration flow
Method 2: Environment Variable (recommended when touch is broken)
Section titled “Method 2: Environment Variable (recommended when touch is broken)”Use this when your screen is too damaged to navigate the UI. It’s the least error-prone of the offline methods because it doesn’t require hand-editing JSON.
- SSH into your device
- Open your
helixscreen.envfile. The launcher checks these locations in order:<install dir>/config/helixscreen.env/etc/helixscreen/helixscreen.env
- Add this line:
HELIX_TOUCH_CALIBRATE=1
- Restart the service:
Terminal window # Raspberry Pi (systemd):sudo systemctl restart helixscreen# Printer firmware (init.d):/etc/init.d/S99helixscreen restart # K1 / K2 / Snapmaker U1/etc/init.d/S80helixscreen restart # AD5M/etc/init.d/helixscreen restart # CC1 - Complete the 3-point crosshair flow when it appears
- Remove the line from
helixscreen.envafterwards — unlike Method 3, the env var doesn’t self-clear and will re-trigger the wizard on every boot if you leave it set
Method 3: Config File
Section titled “Method 3: Config File”Use this for automation, remote management, or as an alternative to the env var.
- SSH into your device
- Stop the service so it doesn’t overwrite your edits — use the command that matches your platform:
Terminal window sudo systemctl stop helixscreen # Raspberry Pi/etc/init.d/S99helixscreen stop # K1 / K2 / Snapmaker U1/etc/init.d/S80helixscreen stop # AD5M/etc/init.d/helixscreen stop # CC1 - Open the config file for your platform (see Config File Locations)
- Add
"force_calibration": trueto the"input"section (leave existing keys in place):{"input": {"force_calibration": true,"jitter_threshold": 5,"scroll_limit": 10,"scroll_throw": 25}} - Save the file and start the service again (use the matching
startcommand for your platform). - The calibration flow runs on startup. The
force_calibrationflag is automatically cleared after a successful calibration, so you don’t need to remove it manually.
Method 4: Command Line (advanced)
Section titled “Method 4: Command Line (advanced)”Use this when you want to run calibration interactively from SSH without restarting the service. This conflicts with a running daemon for the framebuffer and touch device — stop the service first.
- SSH into your device
- Stop the service (use the matching command for your platform — see Method 3)
- Run with the calibration flag:
Terminal window helix-screen --calibrate-touch - Complete the 3-point flow, then exit
- Start the service again normally
Method 5: Factory Reset (nuclear option)
Section titled “Method 5: Factory Reset (nuclear option)”If nothing else works:
- Go to Settings > System > Factory Reset
- Confirm the reset
This resets all settings and re-runs the Setup Wizard from scratch, including calibration if your screen needs it. Only use this as a last resort.
Configuration Reference
Section titled “Configuration Reference”Config File Locations
Section titled “Config File Locations”settings.json lives in your install’s config/ directory. The install root depends on platform:
| Platform | Install Root | Full Path |
|---|---|---|
| MainsailOS / Raspberry Pi (with Klipper detected) | ~/helixscreen | ~/helixscreen/config/settings.json |
| MainsailOS / Raspberry Pi (no Klipper ecosystem) | /opt/helixscreen | /opt/helixscreen/config/settings.json |
| FlashForge AD5M — Forge-X | /opt/helixscreen | /opt/helixscreen/config/settings.json |
| FlashForge AD5M — Klipper Mod (v00.06+) | /opt/helixscreen | /opt/helixscreen/config/settings.json |
| FlashForge AD5M — Klipper Mod (v00.05 and earlier) | /root/printer_software/helixscreen | /root/printer_software/helixscreen/config/settings.json |
| FlashForge AD5M — ZMOD | /srv/helixscreen | /srv/helixscreen/config/settings.json |
| FlashForge AD5X (ZMOD) | /srv/helixscreen | /srv/helixscreen/config/settings.json |
| Creality K1 series | /usr/data/helixscreen | /usr/data/helixscreen/config/settings.json |
| Creality K2 series | /opt/helixscreen | /opt/helixscreen/config/settings.json |
| Elegoo Centauri Carbon (CC1) | /user-resource/helixscreen | /user-resource/helixscreen/config/settings.json |
| Snapmaker U1 | /userdata/helixscreen | /userdata/helixscreen/config/settings.json |
| Development (running from source) | ./ | ./config/settings.json |
When a Klipper install is detected on a Pi (
~/klipper,~/moonraker, or~/printer_dataexists), the installer also creates a symlink at~/printer_data/config/helixscreen/settings.jsonso you can edit it through Mainsail/Fluidd’s file manager. Both paths point to the same file.
Calibration Data (input.calibration)
Section titled “Calibration Data (input.calibration)”Set automatically during calibration. You rarely need to edit this manually.
{ "input": { "calibration": { "valid": true, "a": 0.0013, "b": -0.2642, "c": 510.42, "d": 0.1768, "e": 0.0007, "f": -34.75 } }}| Field | Description |
|---|---|
valid | Whether calibration is active (true or false). HelixScreen falls back to raw touch coordinates when this is false. |
a through f | Affine transform coefficients that map raw touch positions to screen positions. Set automatically during calibration. Don’t edit these by hand. |
swap_axes | Written as false by the wizard. The actual X/Y swap (if needed) is baked into the a–f coefficients — this field is informational only and not read at runtime. |
Touch Device Override (input.touch_device)
Section titled “Touch Device Override (input.touch_device)”Leave empty (default) for auto-detection. Only set this if HelixScreen picks the wrong input device.
{ "input": { "touch_device": "/dev/input/event1" }}Force Calibration (input.force_calibration)
Section titled “Force Calibration (input.force_calibration)”Forces calibration on the next startup. Automatically cleared after successful calibration.
{ "input": { "force_calibration": true }}Diagnosing Touch Problems
Section titled “Diagnosing Touch Problems”If touch is inaccurate or buttons aren’t responding, enable touch point visualization to see exactly where touches are being registered. A ripple appears at each touch — making it easy to see if touches are offset, if a button’s hit area is too small, or if another UI element is absorbing taps.
Persistent (recommended for most users — survives reboots): add this line to helixscreen.env (path under Config File Locations) and restart the service:
HELIX_DEBUG_TOUCH=1Restart commands:
sudo systemctl restart helixscreen # Raspberry Pi/etc/init.d/S99helixscreen restart # K1 / K2 / Snapmaker U1/etc/init.d/S80helixscreen restart # AD5M/etc/init.d/helixscreen restart # CC1Remove the line and restart the service when you’re done diagnosing — ripples slow rendering slightly and clutter the screen.
One-shot from SSH (stop the service first so it doesn’t fight for the framebuffer and touch device):
helix-screen --debug-touchesAdvanced: Environment Variables
Section titled “Advanced: Environment Variables”For power users and developers. These override config file settings and are useful for testing or unusual setups.
| Variable | Description | Example |
|---|---|---|
HELIX_TOUCH_CALIBRATE | Force the calibration wizard on next launch (does not self-clear — remove after use) | 1 |
HELIX_TOUCH_DEVICE | Override touch input device | /dev/input/event1 |
HELIX_TOUCH_MIN_X | Minimum raw X value (linear calibration) | 500 |
HELIX_TOUCH_MAX_X | Maximum raw X value (linear calibration) | 3580 |
HELIX_TOUCH_MIN_Y | Minimum raw Y value (linear calibration) | 3200 |
HELIX_TOUCH_MAX_Y | Maximum raw Y value (linear calibration) | 900 |
HELIX_TOUCH_SWAP_AXES | Swap X and Y axes before calibration (axis swap is also auto-detected during calibration — use this only to force it) | 1 |
HELIX_DISPLAY_ROTATION | Display rotation (touch auto-adjusts) | 90, 180, 270 |
HELIX_DEBUG_TOUCH | Draw ripple at each touch point + calibration logging (alias: HELIX_DEBUG_TOUCHES) | 1 |
HELIX_TOUCH_JITTER | Touch jitter filter dead zone (pixels) | 5 |
Note: The MIN/MAX variables provide a simple linear calibration that bypasses the 3-point system. Most users should use the built-in calibration instead.
Jitter filter: If taps are being misread as swipes, the jitter filter suppresses small coordinate noise from the touch controller. The default of 5 pixels is enough for most screens; raise it to 15–25 for very noisy controllers (common on Goodix GT9xx panels), or set to
0to disable. See also scroll_limit and scroll_guard for related touch-feel tuning.
Setting environment variables on Raspberry Pi (systemd):
# Open an override file for the HelixScreen servicesudo systemctl edit helixscreen
# Add your variables in the editor that opens:[Service]Environment="HELIX_TOUCH_DEVICE=/dev/input/event0"Environment="HELIX_DISPLAY_ROTATION=90"
# Save and close, then restart:sudo systemctl restart helixscreen
Setting environment variables on printer firmware (AD5M / K1 / K2 / CC1 / Snapmaker U1):
These platforms don’t use systemd. The launcher script sources helixscreen.env from your install’s config/ directory:
# Edit helixscreen.env in your install's config dir (see Config File Locations above)# Add lines like:HELIX_TOUCH_DEVICE=/dev/input/event0HELIX_DISPLAY_ROTATION=90
# Then restart helix-screen (varies by platform — usually):/etc/init.d/S99helixscreen restart   # K1 / K2 / Snapmaker U1/etc/init.d/S80helixscreen restart   # AD5M/etc/init.d/helixscreen restart      # CC1
Known Devices
Section titled “Known Devices”| Device / Screen | Type | Needs Calibration? | Notes |
|---|---|---|---|
| Creality AD5M built-in | Resistive (sun4i_ts) | Yes | Auto-detected |
| Nebula Pad | Resistive (NS2009) | Yes | Auto-detected |
| BTT HDMI 5”/7” | USB capacitive | No | Reports mapped coordinates |
| Raspberry Pi Official Touchscreen | Capacitive (Goodix) | No | Factory calibrated |
| Goodix GT911 panels | Capacitive | Usually no | May need calibration if wired to a mismatched-resolution display |
| Generic USB touchscreen | USB HID | No | Reports mapped coordinates |